Wedding Timeline Tools: Keeping Guests Informed and Engaged

Your wedding day is a beautifully choreographed dance of moments, from the first look to the final sparkler send-off. For you, the couple, this schedule is meticulously planned down to the minute. But for your guests, not knowing what comes next can lead to confusion, missed moments, and a feeling of being disconnected. A well-crafted timeline is your secret weapon for creating a seamless, enjoyable experience for everyone involved. When you choose to share your wedding timeline online, you transform your wedding website from a simple information hub into an essential guide that empowers your guests to be fully present for every part of your celebration.
Gone are the days of confining the schedule to a single line on the invitation. A detailed digital timeline manages expectations, builds anticipation, and ensures your loved ones are in the right place at the right time, without you having to play announcer all night. It’s the ultimate tool for reducing stress—for you and your guests—and maximizing the joy of your event.
Building Your Master Timeline: What to Include
A great wedding timeline is more than just a list of events. It’s a narrative of your day. To be truly helpful, it should provide context and practical details.
1. The Weekend-Wide View:
If your celebration spans multiple days, start with a high-level overview.
- Friday: Welcome Dinner or Rehearsal (Include time, location, and dress code. E.g., “Casual Welcome Mixer at The Lakefront Grill, 7-9 PM”)
- Saturday: The Main Event (This will be your most detailed timeline)
- Sunday: Farewell Brunch (Time, location, and any important notes)
2. The Detailed Day-Of Schedule:
This is the core of your timeline. Break it down into digestible blocks with clear labels and helpful details.
- 4:00 PM – Ceremony Begins: “Please arrive by 3:45 PM to be seated. The ceremony will be held in the Rose Garden. (Note: The ground is grass, so plan your heels accordingly!)”
- 4:30 PM – Cocktail Hour: “Immediately following the ceremony. Enjoy passed appetizers and refreshments on the Terrace while we take family photos.”
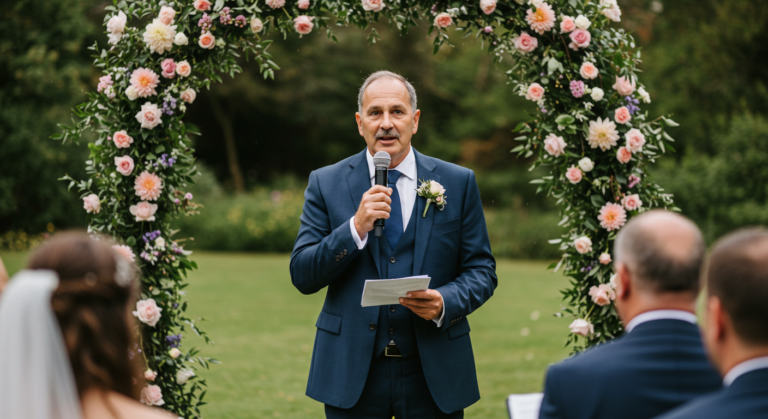
- 5:30 PM – Reception Entrance & Toasts: “The wedding party will make their entrance, followed by toasts from our parents and the best man.”
- 6:00 PM – Dinner is Served: “A plated dinner will begin. Don’t forget to check your seat assignment on the chart at the entrance!”
- 7:30 PM – First Dance & Parent Dances: “Kick off the dancing with us on the floor!”
- 8:00 PM – Open Dancing: “The dance floor is open for everyone! Our DJ will be taking requests.”
- 9:30 PM – Cake Cutting: “Gather ’round for a sweet treat.”
- 10:00 PM – Sparkler Send-Off: “Please grab a sparkler on your way out for our grand farewell!”
The Best Tools for Sharing Your Timeline Online
Simply writing your timeline in a Notes app isn’t enough. You need to integrate it into your wedding website where guests can easily access it. Most modern platforms make this incredibly simple.
1. Dedicated Wedding Websites (The Easiest Method):
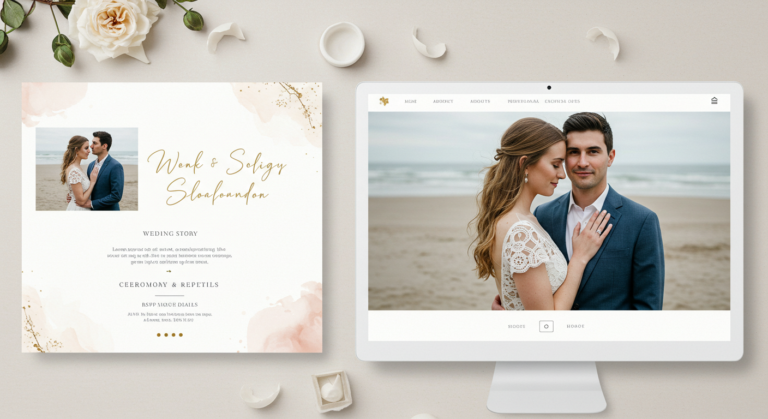
Platforms like The Knot, Zola, and Joy have built-in “Schedule” or “Timeline” sections. These are designed specifically for this purpose, allowing you to input times, events, and descriptions in a clean, pre-formatted template. The major advantage is that these are automatically mobile-friendly and match the aesthetic of your site.
2. Custom Website Builders (For Maximum Creativity):
If you’re using a platform like Squarespace or Wix, you have more design freedom. You can create a dedicated “Weekend Timeline” page using:
- Text Blocks: For clear headings and descriptions.
- Schedule or Table Blocks: To create a visually appealing, easy-to-scan list of events.
- Icons: Use small icons next to each event (a knife and fork for dinner, a music note for dancing) for instant visual recognition.
3. Interactive Digital Timelines:
For a truly engaging experience, consider tools like Appy Couple or Minted’s wedding websites, which can sometimes feature more interactive timelines. These can allow guests to “favorite” events or add them directly to their phone’s calendar with a single click.
Pro Tips for an Effective and Engaging Timeline
- Be Specific and Add Context: “Cocktail Hour” is good. “Cocktail Hour on the Sunset Terrace with signature drinks and live jazz” is great. The extra detail builds excitement.
- Highlight Can’t-Miss Moments: If you absolutely want everyone gathered for your grand exit, make it bold or add a fun note: “Don’t miss our sparkler send-off! Meet us at the front entrance at 9:50 PM.”
- Include Practical Information: Weave in essential logistics. Note the location for each event, the dress code for the evening, and even a reminder for guests to bring their jackets if the party moves outdoors.
- Promote It: Don’t hide the timeline. Link to it prominently in your website’s navigation menu and consider adding a quick note about it on your invitations or save-the-dates (e.g., “For a detailed weekend timeline, visit our website”).
- Keep It Updated: Your timeline is a living document. If the caterer tells you dinner will be served 15 minutes later, update your website. This is far easier than re-printing a program!
By investing time in a clear, detailed, and easily accessible online timeline, you do more than just inform—you curate an experience. You give your guests the gift of confidence, allowing them to relax, enjoy the party, and focus on what truly matters: celebrating you. A well-shared timeline ensures that your loved ones are not just attendees, but engaged participants in every magical moment of your day.


