


The Ultimate Timeline for Wedding Dress Alterations: When to Start and Why
Your wedding dress is the centerpiece of your big day, and ensuring it fits perfectly is essential for feeling confident and radiant. However, achieving that flawless fit doesn’t happen overnight. Wedding dress alterations require careful planning, multiple fittings, and a skilled seamstress. To help you navigate this process seamlessly, we’ve created the ultimate timeline for wedding dress alterations. This guide will walk you through when to start, what to expect at each stage, and why timing is so important.
Why Timing Matters for Wedding Dress Alterations
Wedding dress alterations are not a one-and-done process. They typically involve multiple fittings and adjustments to ensure the dress fits your body perfectly. Starting early allows you to:
- Avoid Rush Fees: Last-minute alterations can be expensive and stressful.
- Accommodate Complex Changes: If your dress requires significant adjustments, such as resizing or restructuring, you’ll need extra time.
- Plan for Unexpected Delays: Fabric shortages, seamstress availability, or unexpected issues can arise, so it’s best to have a buffer.
- Ensure a Perfect Fit: Multiple fittings allow for gradual adjustments, ensuring the final result is flawless.
Now, let’s dive into the ultimate timeline for wedding dress alterations.
6–9 Months Before the Wedding: Purchase Your Dress
The alteration process begins long before your first fitting. Ideally, you should purchase your wedding dress 6–9 months before your wedding date. This gives you plenty of time to schedule alterations and account for any delays in dress delivery.
What to Do During This Time:
- Research Seamstresses: Start looking for a skilled seamstress who specializes in wedding dresses. Ask for recommendations, read reviews, and schedule consultations.
- Know Your Timeline: Discuss your wedding date with the seamstress to ensure they can accommodate your schedule.
- Prepare for Fittings: Purchase the shoes and undergarments you plan to wear on your wedding day. These items are essential for accurate fittings.
4–6 Months Before the Wedding: First Fitting
Your first fitting should take place 4–6 months before your wedding. This is when the bulk of the alterations will be done. During this appointment, your seamstress will assess the dress and make a plan for the necessary adjustments.
What Happens During the First Fitting:
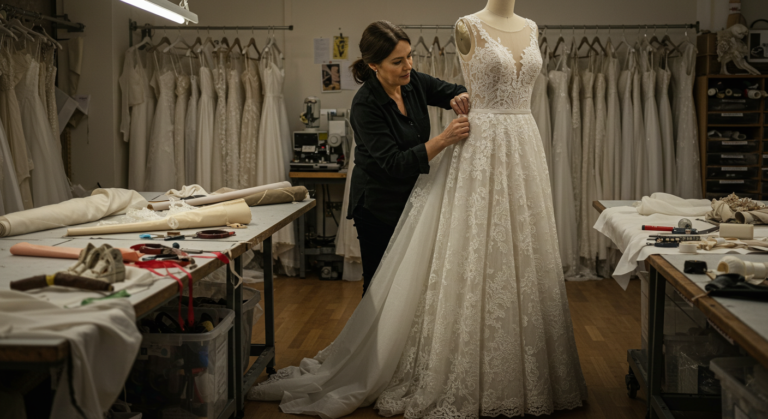
- Initial Assessment: The seamstress will pin the dress to mark areas that need alteration, such as the hem, waist, or bust.
- Discuss Changes: This is your opportunity to communicate any specific requests, such as adding sleeves, adjusting the neckline, or creating a bustle.
- Set a Timeline: Confirm the number of fittings you’ll need and schedule your next appointment.
Pro Tip:
Bring a trusted friend or family member to the fitting. They can provide a second opinion and help you visualize the final look.
2–3 Months Before the Wedding: Second Fitting
The second fitting typically occurs 2–3 months before the wedding. By this point, the major alterations should be complete, and the dress will be closer to its final form.
What Happens During the Second Fitting:
- Review Adjustments: The seamstress will check the changes made during the first fitting and make any additional tweaks.
- Test the Fit: Walk, sit, and move around in the dress to ensure it’s comfortable and functional.
- Finalize Details: If you’re adding a bustle, this is when it will be pinned and tested.
Pro Tip:
Wear your wedding shoes and undergarments to this fitting to ensure the length and fit are perfect.
4–6 Weeks Before the Wedding: Third Fitting
The third fitting is usually scheduled 4–6 weeks before the wedding. At this stage, the dress should be nearly complete, with only minor adjustments needed.
What Happens During the Third Fitting:
- Fine-Tune the Fit: The seamstress will make final adjustments to ensure the dress fits like a glove.
- Check the Bustle: If your dress has a train, test the bustle to make sure it’s secure and easy to use.
- Inspect the Details: Look for any loose threads, uneven hems, or other issues that need attention.
Pro Tip:
Take photos during this fitting to document how the dress should look on your wedding day. This will be helpful when getting dressed.
1–2 Weeks Before the Wedding: Final Fitting
The final fitting should take place 1–2 weeks before the wedding. This is your last chance to ensure everything is perfect before the big day.
What Happens During the Final Fitting:
- Final Adjustments: The seamstress will make any last-minute tweaks, such as tightening straps or adjusting the hem.
- Practice Getting Dressed: If possible, have your maid of honor or a family member attend the fitting to practice helping you into the dress.
- Take the Dress Home: Once you’re satisfied with the fit, you can take the dress home. Be sure to store it properly to avoid wrinkles or damage.
Pro Tip:
Bring a garment bag to transport your dress safely. Hang it in a cool, dry place until the wedding.
The Week of the Wedding: Last-Minute Checks
In the days leading up to your wedding, take some time to inspect your dress and ensure everything is in order.
What to Do:
- Steam or Press the Dress: If your dress has wrinkles, use a handheld steamer or have it professionally pressed.
- Pack for the Venue: If you’re getting ready at a different location, pack your dress, shoes, and accessories in a secure bag.
- Emergency Kit: Prepare a small emergency kit with items like safety pins, double-sided tape, and a needle and thread in case of last-minute issues.
Common Alterations and Their Timing
Understanding the types of alterations your dress may need can help you plan your timeline more effectively. Here are some common alterations and when they typically occur:
- Hemming: Usually done during the first or second fitting. This is one of the most common alterations and ensures the dress is the right length for your height and shoes.
- Taking in or Letting Out the Sides: Often addressed during the first fitting to achieve the perfect fit around the waist and hips.
- Adjusting the Bust or Straps: Typically done during the first or second fitting to ensure the top of the dress fits comfortably.
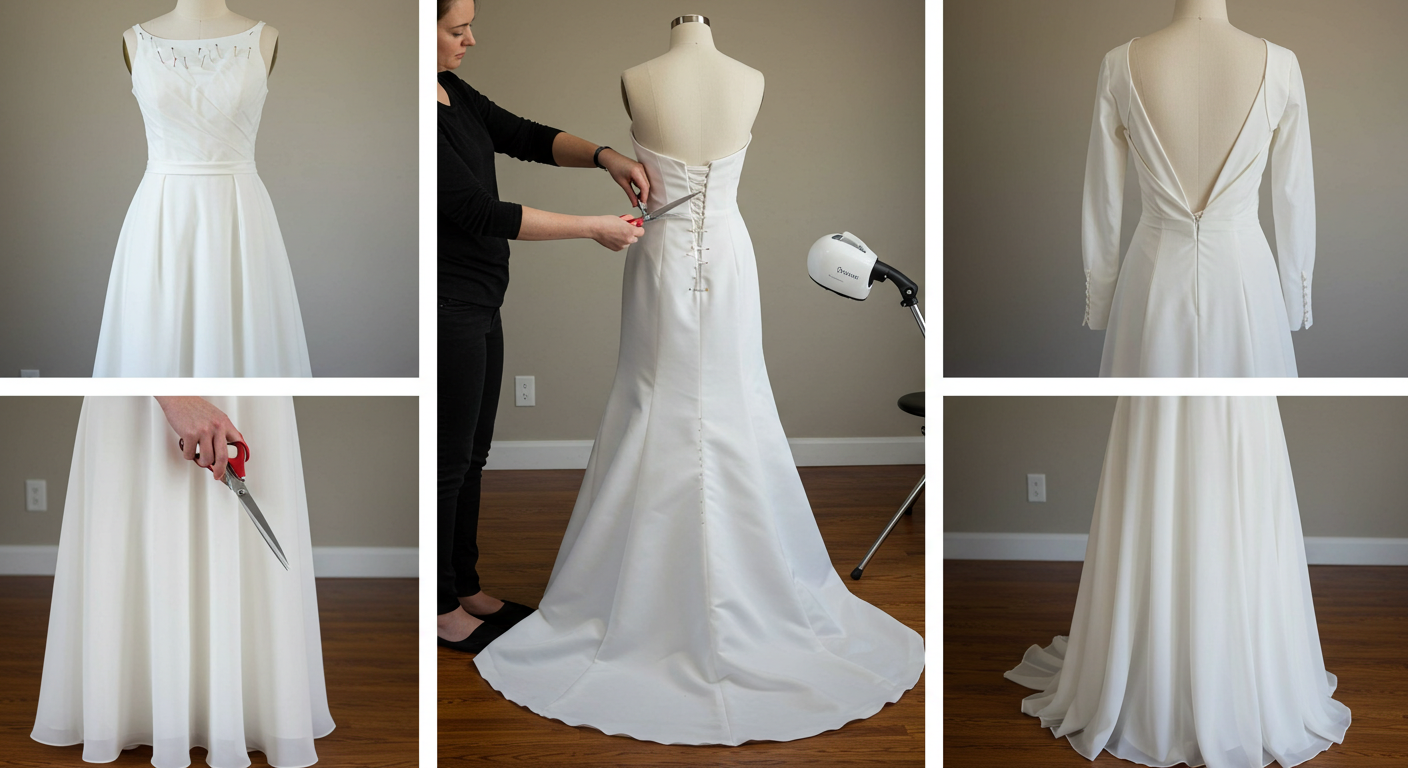
- Adding a Bustle: Usually finalized during the second or third fitting. A bustle is essential for dresses with long trains, as it keeps the train off the ground during the reception.
- Resizing (Major Changes): If your dress needs to be significantly resized, this should be addressed during the first fitting to allow enough time for adjustments.
What If You’re on a Tight Timeline?
If you’re planning a wedding in less than six months, don’t panic. While it’s ideal to start early, it’s still possible to achieve a perfect fit on a shorter timeline. Here’s how:
- Prioritize Alterations: Focus on the most critical changes, such as hemming and taking in the sides.
- Choose a Simple Dress: Dresses with fewer layers and less intricate details are easier and faster to alter.
- Communicate with Your Seamstress: Be upfront about your timeline and ask if they can accommodate rush services.
Conclusion
Wedding dress alterations are a crucial part of preparing for your big day, and starting early is the key to a stress-free experience. By following this ultimate timeline, you’ll ensure your dress fits perfectly and looks stunning as you walk down the aisle. Remember, the process is just as important as the result, so take your time, communicate with your seamstress, and enjoy every moment of becoming a bride. With careful planning and attention to detail, you’ll be ready to say “I do” in a dress that’s as unique and beautiful as you are. Happy planning!